n Scalability: Vector graphics can be resized without losing their quality.
n Clarity: Vector graphics are sharp and clear, even when enlarged.
n Editability: Vector graphics can be easily edited and modified.
n Small File Size: Vector graphics have a smaller file size compared to raster graphics.
How to Convert Image to Vector
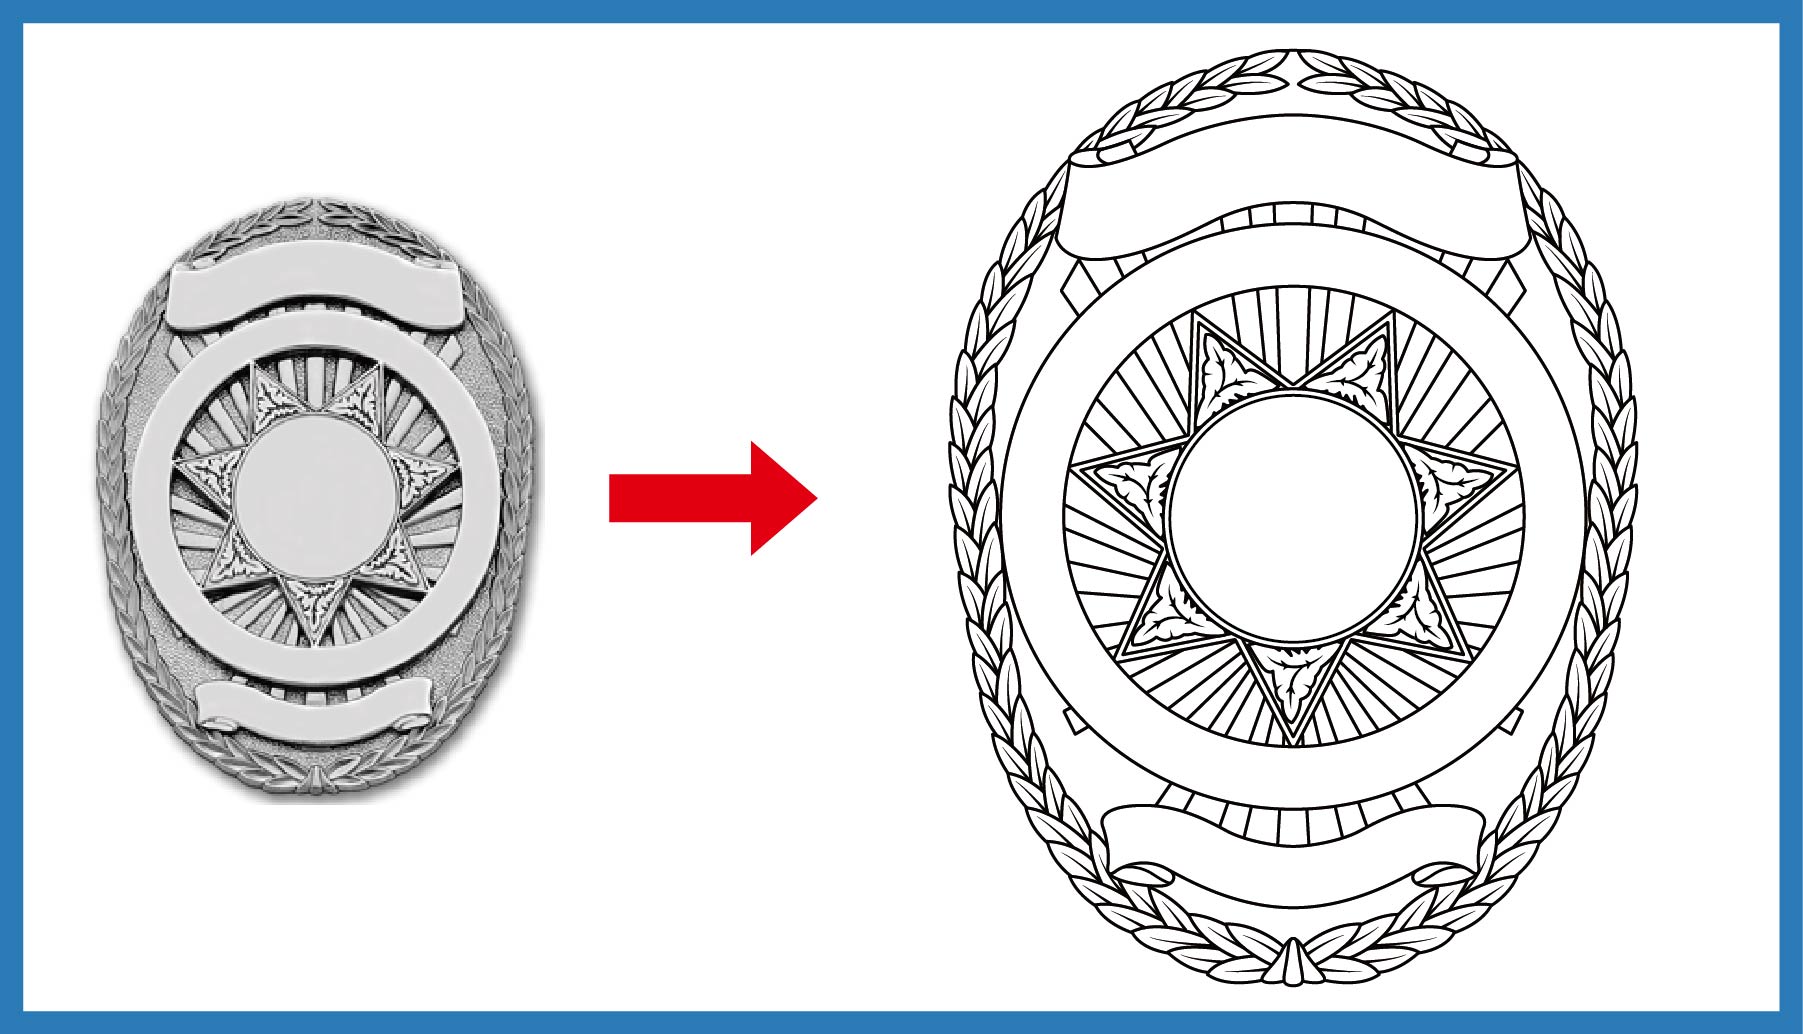
Converting an image to vector is a simple process that can be done using various software applications. Here are the steps to convert an image to vector:
Step 1: Choose the Right Software
There are many software applications that can be used to convert an image to vector. Some popular options include Adobe Illustrator, CorelDRAW, and Inkscape. Choose the one that suits your needs and skill level.
Step 2: Import Your Image
Import your image into the software. Most software applications allow you to do this by clicking on "File" and then "Import."
Step 3: Trace Your Image
The next step is to trace your image using the software's tracing tools. This will convert your image into a vector format. The tracing tools may vary depending on the software you're using.
Step 4: Refine Your Image
Once your image has been traced, you can refine it using various tools. These tools allow you to modify the colors, shapes, and lines of your image.
Step 5: Save Your Image
After you have finished refining your image, save it in a vector format. Some common vector formats include SVG, AI, and EPS.

Tips for Converting Images to Vector
Here are some tips to help you convert your images to vector:
n Choose a high-quality image: The quality of your image will affect the quality of the vector conversion. Choose an image that is clear and high-resolution.
n Use the right tracing settings: The tracing settings can affect the quality of the vector conversion. Experiment with different settings to find the best one for your image.
n Simplify your image: Simple images are easier to trace and refine. If possible, simplify your image before converting it to vector.
n Practice: Converting images to vector takes practice. Don't get discouraged if your first attempts don't turn out as expected.
Conclusion
Converting an image to vector can be a useful skill for graphic designers, artists, and anyone who wants to create high-quality graphics. Vector graphics have many advantages over raster graphics, including scalability, clarity, and editability. By following the steps outlined in this article, you can easily convert an image into a vector format.
FAQs
Q1. What is a vector image used for?
A1. Vector images are used for various purposes, including creating logos, illustrations, and other graphics that require high-quality and scalability.
Q2. Can I convert any image to vector?
A2. Not all images can be converted to vector. Images that are too complex or have too many colors may not be suitable for vectorization. It's best to choose simple and high-quality images for better results.
Q3. What is the best software for converting images to vector?
A3. There are many software applications that can be used to convert images to vector, including Adobe Illustrator, CorelDRAW, and Inkscape. The best software for you depends on your needs and skill level.
Q4. What are the most common vector formats?
A4. Some of the most common vector formats include SVG, AI, EPS, and PDF.
Q5. Can I edit a vector image after converting it?
A5. Yes, one of the advantages of vector images is that they are easily editable. You can modify the colors, shapes, and lines of your image as needed.


