
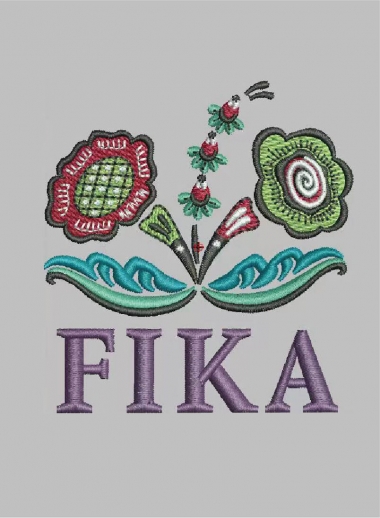
What Should You Do Before You Start Digitizing?
The biggest mistake beginners make is opening digitizing software before evaluating the artwork.
Start by checking whether the design is suitable for embroidery. Tiny text, thin lines, gradients, and intricate details often need to be simplified because thread has physical limitations that printed graphics don't.
Whenever possible, use vector artwork such as AI, EPS, or SVG files. If those aren't available, choose the highest-resolution image you have to ensure cleaner tracing and better accuracy.
Before creating the embroidery file, answer these questions:
Question | Why It Matters |
What item will be embroidered? | Caps, polos, jackets, and towels all require different stitch settings. |
What size will the design be? | Small designs often need simplified details and different stitch densities. |
What fabric is being used? | Stretchy fabrics behave differently from woven materials. |
Which machine will stitch it? | The machine determines the embroidery file format you'll need. |
Taking a few minutes to answer these questions helps prevent common production problems later.
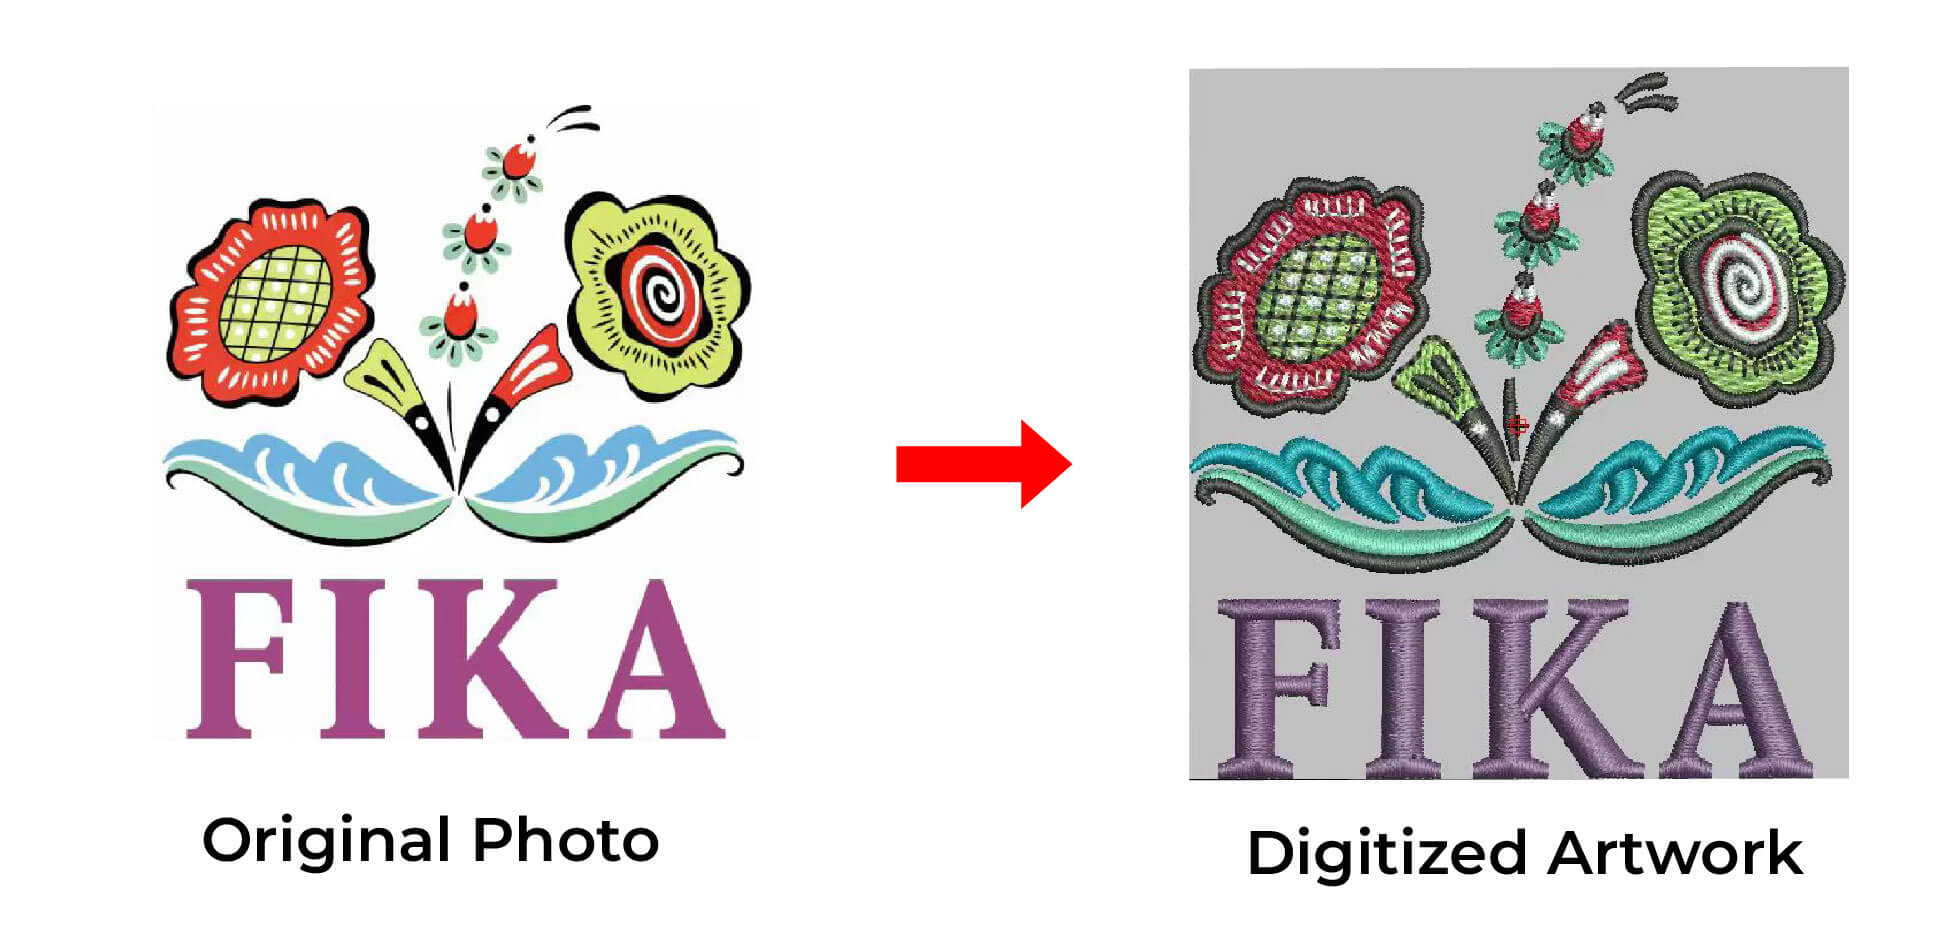
How to Digitize an Embroidery Design
Once your artwork is ready, you can begin building the embroidery file.
1. Import the Artwork
Open your design in embroidery digitizing software and trace the artwork manually. While many programs offer auto-digitizing, manual digitizing gives you greater control over stitch quality and produces more professional results.
2. Assign the Right Stitch Types
Every part of the design serves a different purpose, so it shouldn't use the same stitch.
Stitch Type | Best For |
Running Stitch | Fine lines and small details |
Satin Stitch | Lettering, borders, and narrow shapes |
Fill (Tatami) Stitch | Large logos and solid areas |
Combining these stitch types correctly creates cleaner, more balanced embroidery.
3. Adjust Underlay and Stitch Density
Underlay acts as the foundation of the embroidery, helping stabilize the fabric before the top stitches are sewn. Stitch density should also be adjusted based on the fabric and design. Too many stitches can make embroidery stiff and cause thread breaks, while too few may leave visible gaps.
4. Plan the Stitch Order
The sequence in which the machine stitches each element affects both appearance and efficiency. A well-planned stitch path reduces unnecessary trims, minimizes thread jumps, and helps the design sew more smoothly.
5. Test Before Production
Even the best-looking digital preview can't guarantee perfect embroidery. Always run a sample stitch-out to check for puckering, thread breaks, poor registration, or missing details. Small adjustments at this stage can save both time and material during production.
Common Mistakes Beginners Should Avoid
Learning embroidery digitizing takes practice, but avoiding a few common mistakes will help you improve much faster.
· Using low-quality artwork: Blurry or pixelated images make it difficult to create clean stitch paths.
· Depending entirely on auto-digitizing: Automatic tools are useful for simple designs, but complex logos usually need manual adjustments.
· Ignoring the fabric type: A file that works well on a polo shirt may not produce the same results on a cap, towel, or fleece jacket.
· Overlooking stitch density: Too many stitches can cause puckering and thread breaks, while too few may leave gaps.
· Skipping the test sew-out: Always stitch a sample before production to catch problems that aren't visible on screen.
By paying attention to these basics, you'll save time, reduce material waste, and produce embroidery that looks more polished and professional.
Should You Digitize Designs Yourself or Hire a Professional?
If you're interested in embroidery as a hobby, learning to digitize your own designs can be both rewarding and educational. It gives you a better understanding of how embroidery machines work and helps you improve with every project.
However, if you're creating embroidery for customers or running a commercial embroidery business, professionally digitized files can save significant time and reduce costly production errors. Experienced digitizers know how to optimize stitch paths, compensate for different fabrics, and create files that run efficiently on embroidery machines.
At Mango Drawing, every design is manually digitized by experienced professionals to ensure clean stitching, accurate details, and compatibility with leading embroidery machine formats. Whether you need a company logo, cap design, monogram, or custom artwork, professionally digitized files help deliver consistent, high-quality embroidery.
Frequently Asked Questions
Can I convert a JPG directly into an embroidery file?
Some software can automatically convert image files into embroidery formats, but the results often require manual editing. For professional-quality embroidery, manual digitizing is usually the better option.
Which embroidery file format should I use?
The correct format depends on your embroidery machine. Common file types include DST, PES, JEF, EXP, VP3, and XXX. Always check your machine's compatibility before requesting a digitized file.
Can one embroidery file be used for every size?
Not always. A design created for a small left-chest logo may not stitch well when enlarged for a jacket back. Professional digitizers often create separate files for different embroidery sizes and applications.