
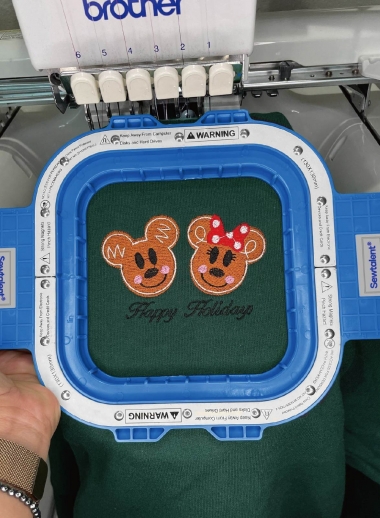
To simplify things, here's a step-by-step table on the conversion process:
Step | What Happens |
Artwork review | Logo is checked for clarity, colors, and small text. |
Vectorizing | Complex logos are cleaned up or redrawn if needed. |
Digitizing | Stitch paths, density, and underlay are mapped. |
Sew Out Test | A sample is stitched to check accuracy. |
File Delivery | Final DST, EMB, or PES file is sent to you. |
However, if your logo already exists as clean vector artwork, this process moves noticeably faster since digitizers can work directly from crisp shapes instead of guessing pixel edges.
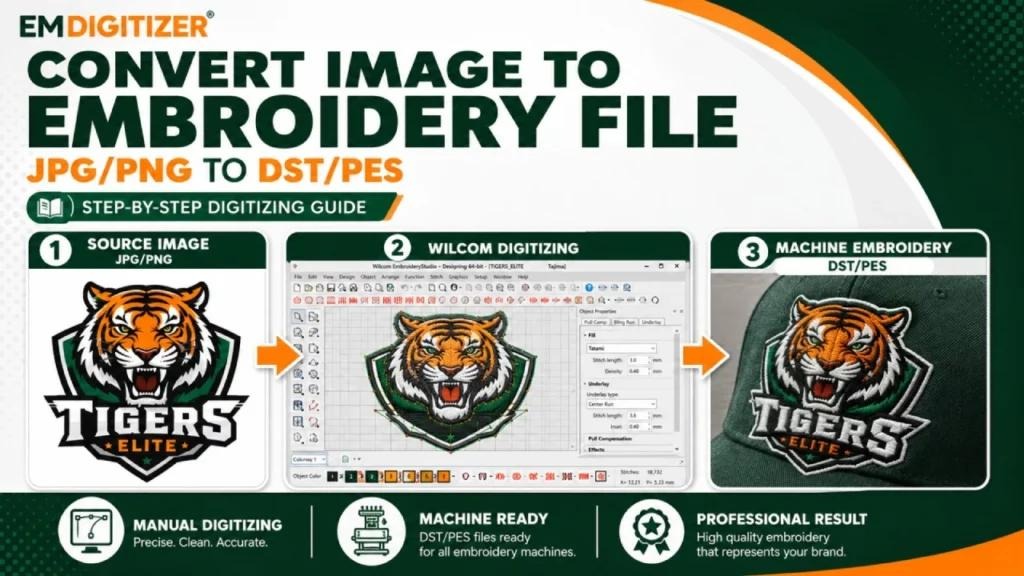
Small Details that Make a Big Difference
Thin text, gradients, and tiny fonts are the usual troublemakers in embroidery, but a good digitizer simplifies these elements without losing brand identity, which is something that we cover in more depth in our guide on how to digitize embroidery designs.
Need more information, or want to skip the trial and error in embroidery digitization? Get your logo professionally digitized by Mango Drawing and receive a production-ready embroidery file that's delivered fast and within your price range.
Key Takeaways:
● Logos need digitizing, not just uploading, for embroidery machines to read them.
● Digitizing maps stitch paths, density, and thread order.
● Clean artwork speeds up conversion.
● Small text and gradients need simplification.
● Mango Drawing delivers fast, hand-digitized files.
1. What file format do most embroidery machines use?
DST is the most universal format, accepted by nearly all commercial and home embroidery machines, but you can reach out to us for other formats as well because our team also works with PES, EXP, VP3, HUS, JEF, along with editable EMB working files for future adjustments.
2. How many colors can an embroidery file have?
Most logos use 3 to 8 thread colors, but we can also incorporate more colors. Note that the increase in the number of shades might also increase cost and stitch time.
3. What is stitch count and why does it matter?
Stitch count determines pricing and sew time; higher-density designs need more stitches to look clean.